Add to an Existing Media Sequence
This tutorial will show you how to update a patient’s media sequence with a new photo or video.
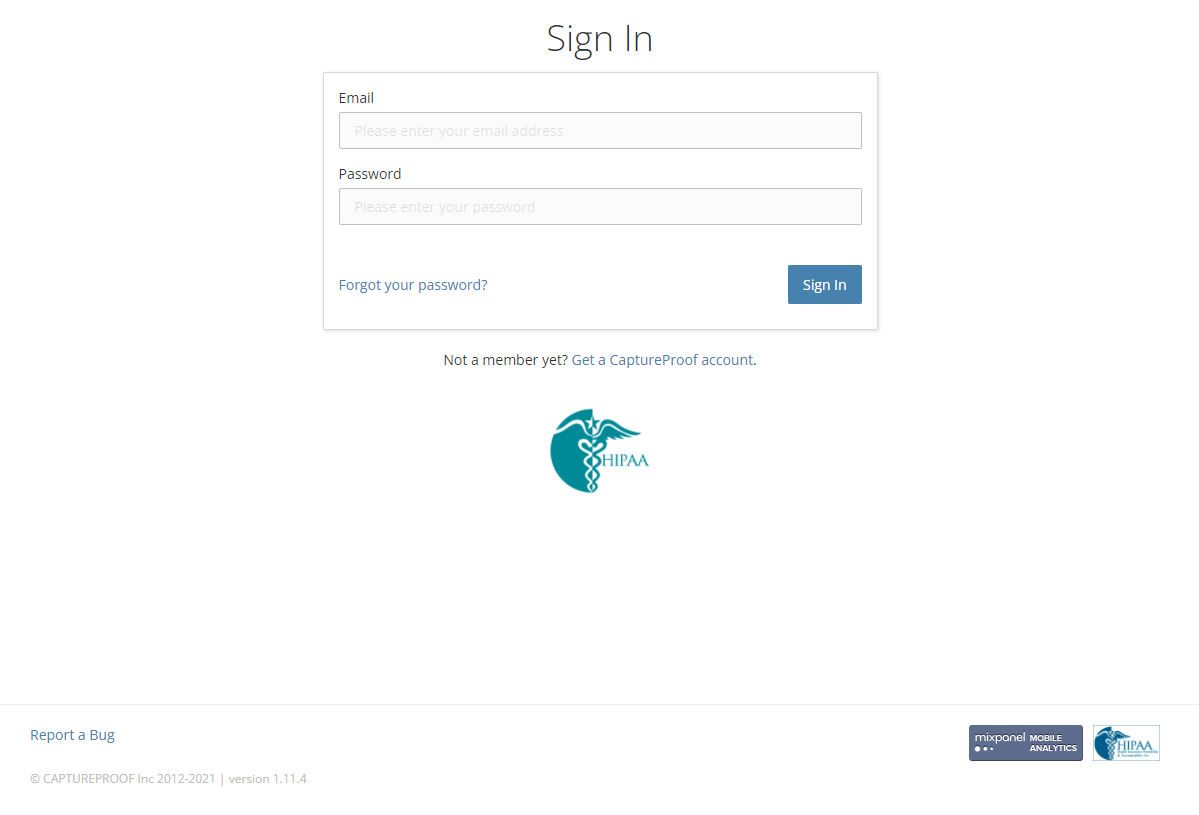
1. Sign into your CaptureProof account.

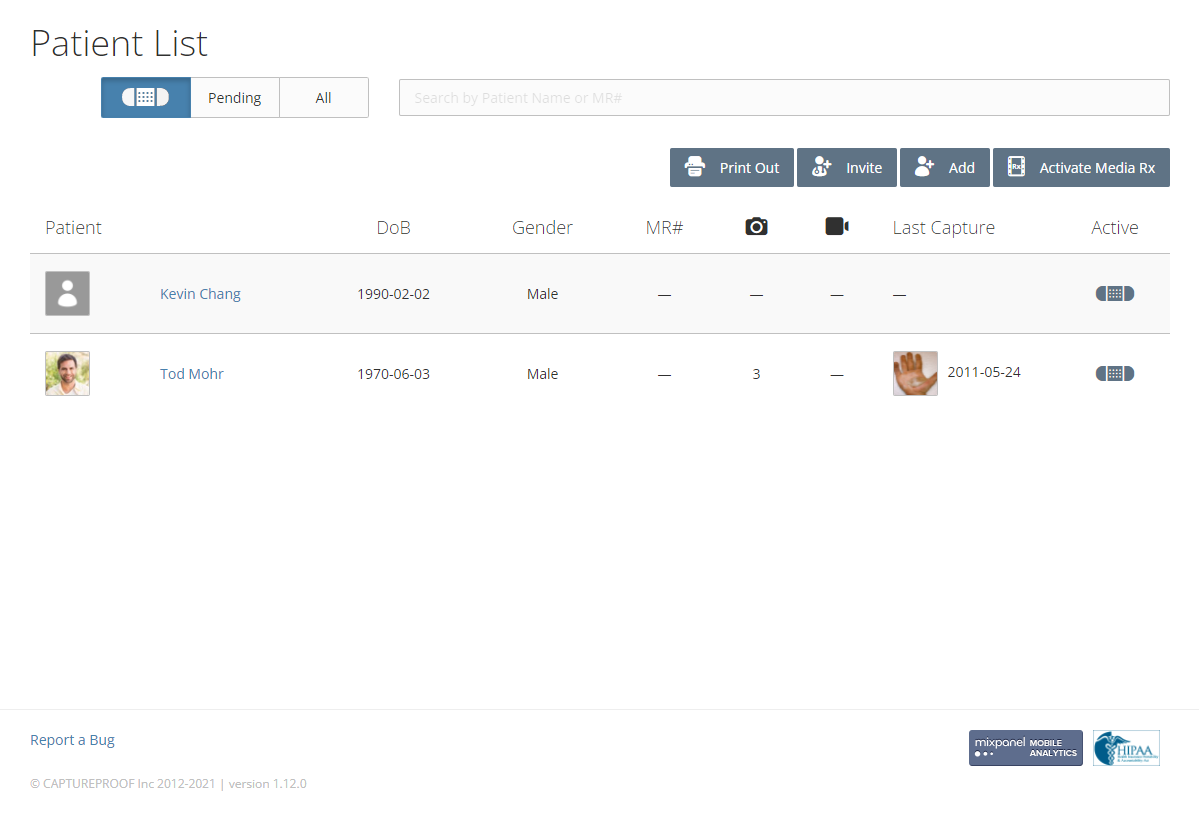
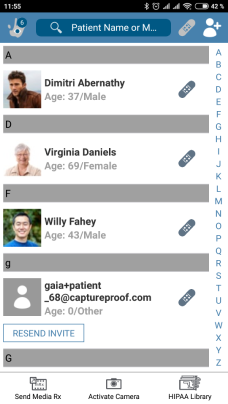
2. You will arrive at your Patient List. Select a patient by clicking on their name.

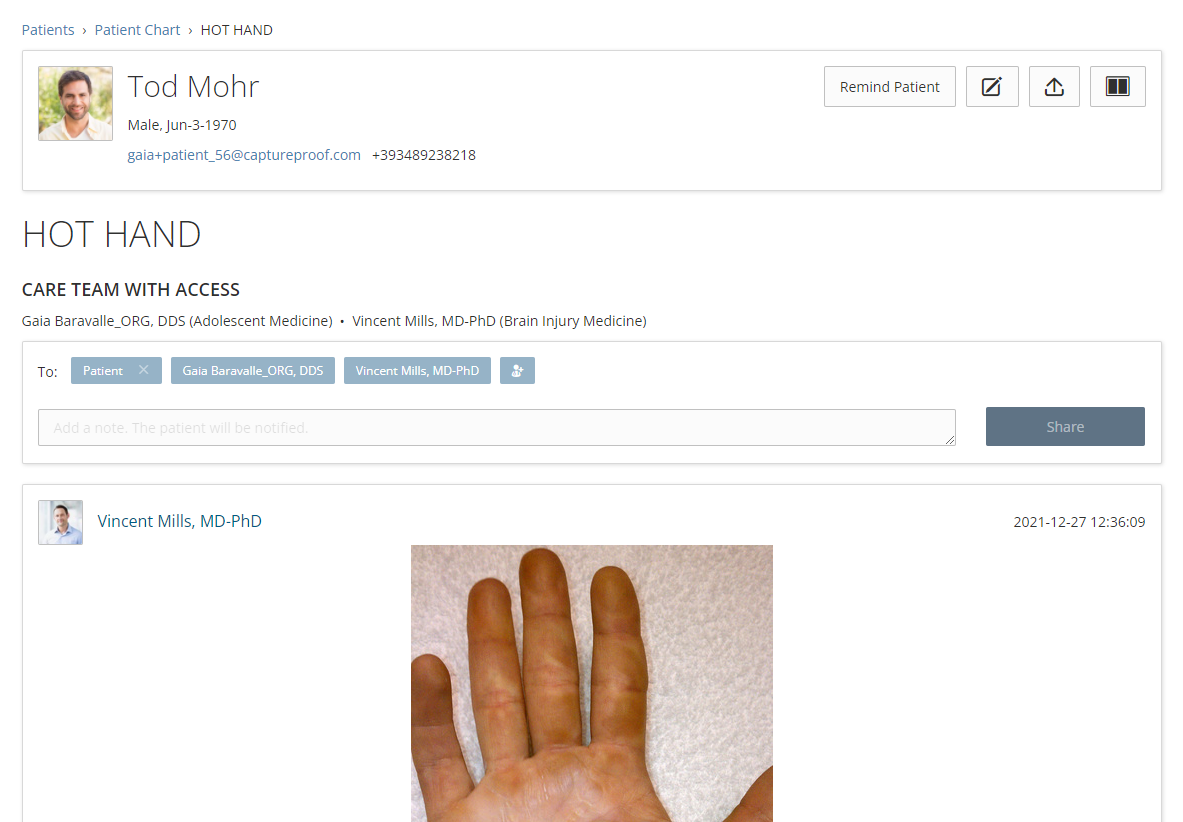
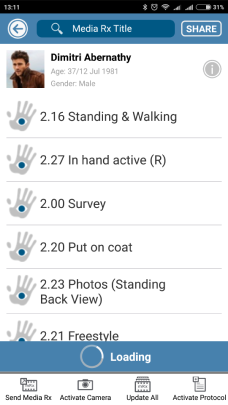
3. Select a media sequence by clicking on its name.
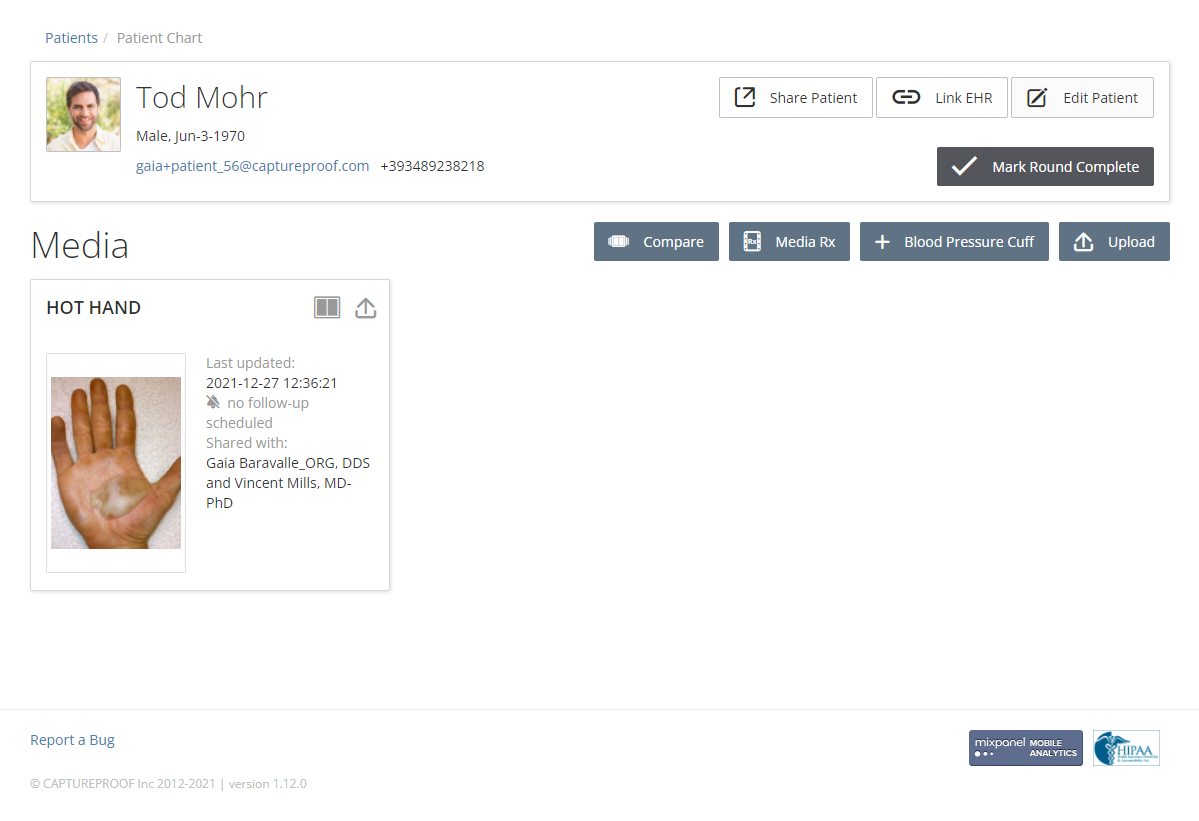
4. Click on "Upload" button.
5. Click on "Choose".
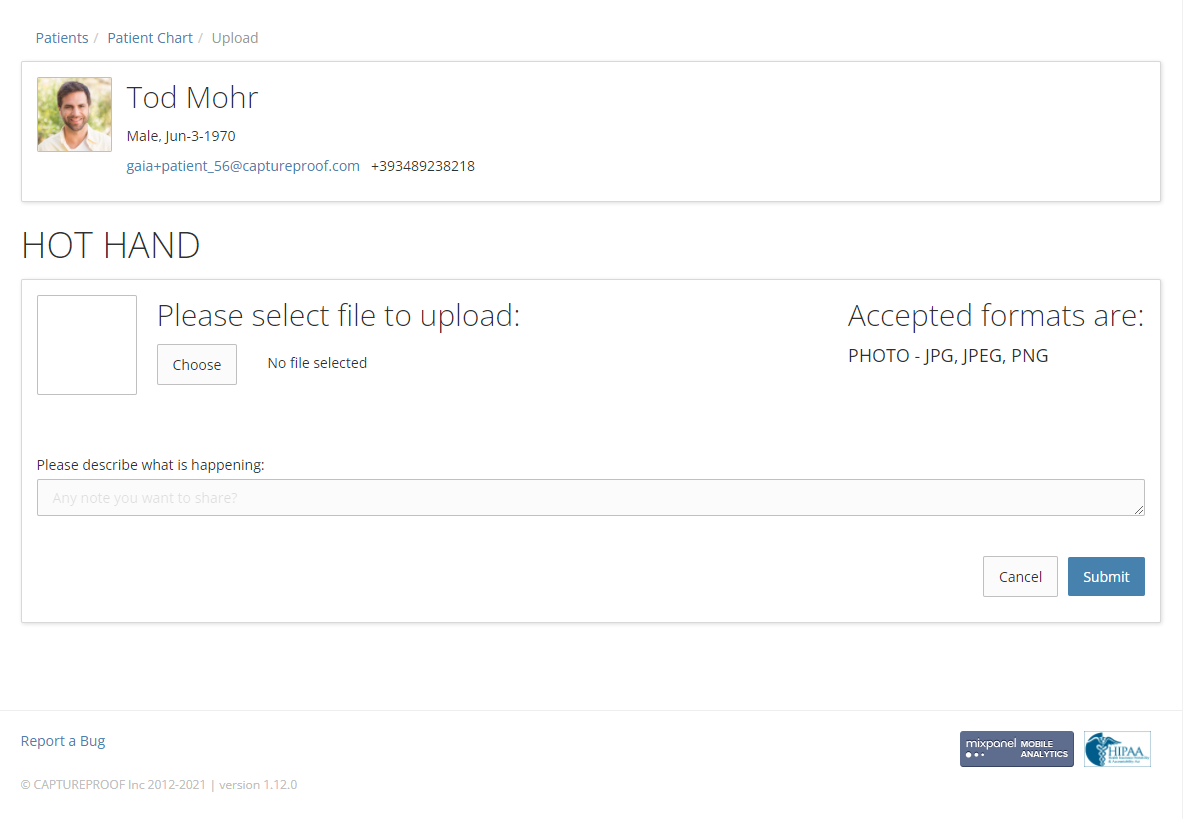
6. Select an image by clicking on it, then click on "Open".

7. Click on "Submit".
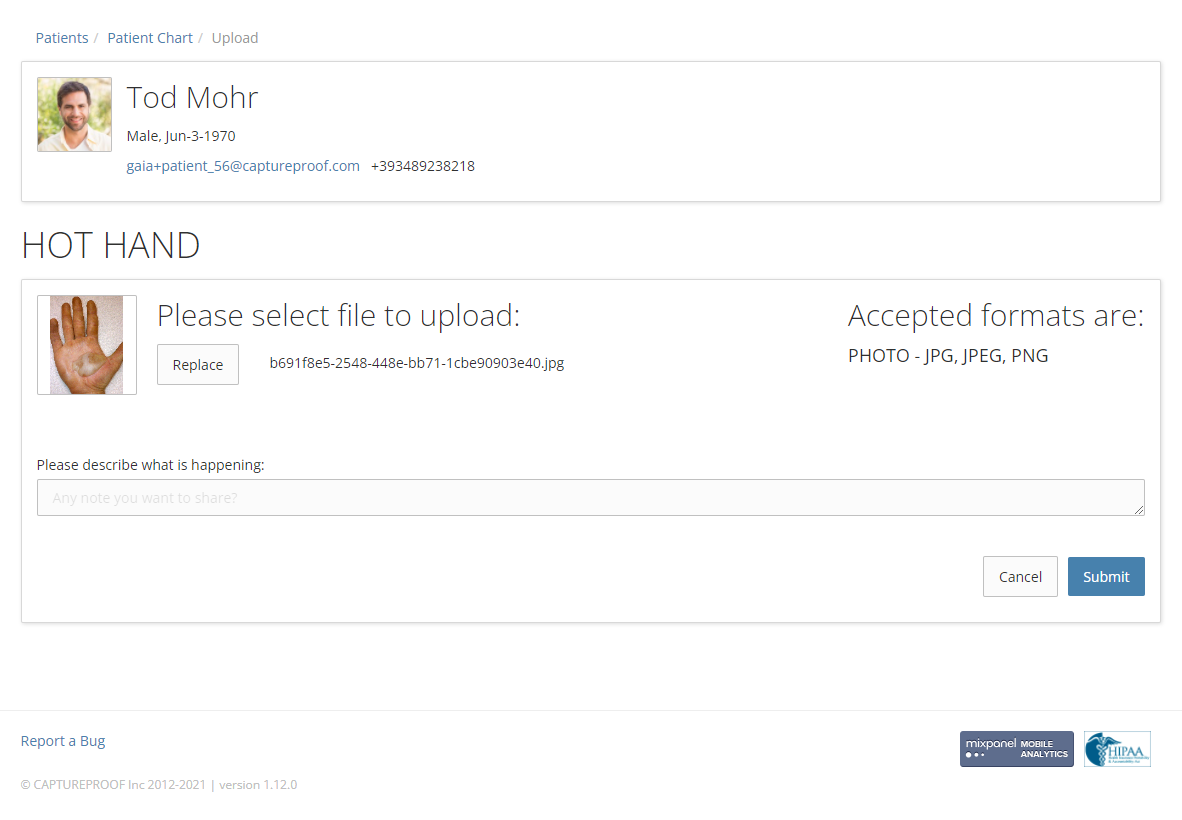
8. The new photo or video will be uploaded and added to the media sequence.
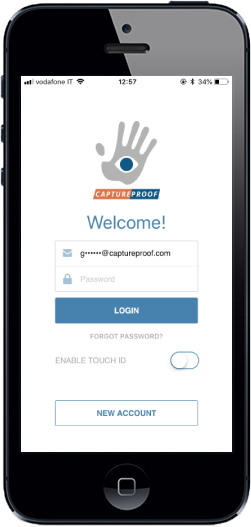
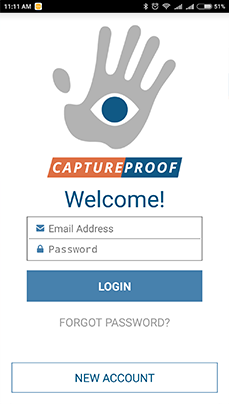
1. Open the CaptureProof app and sign in.
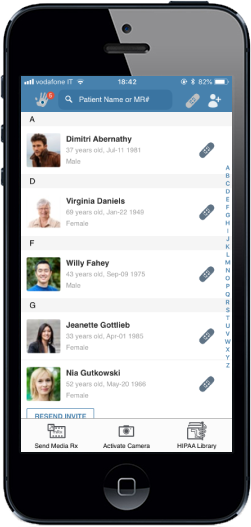
2. Your Patient List will be opened. Tap on a patient to select them.
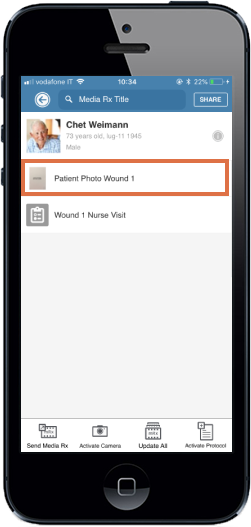
3. Tap on the media sequence you want to update.
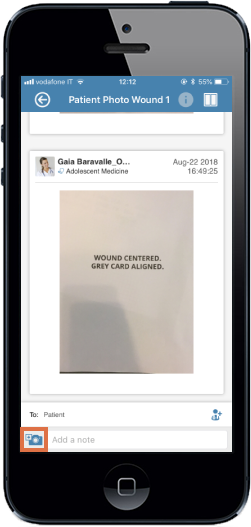
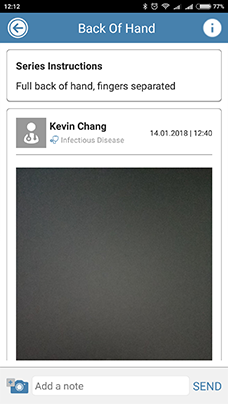
4. Tap on the "Add" button in the bottom left.
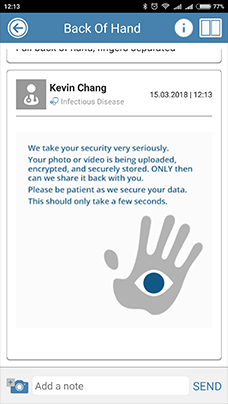
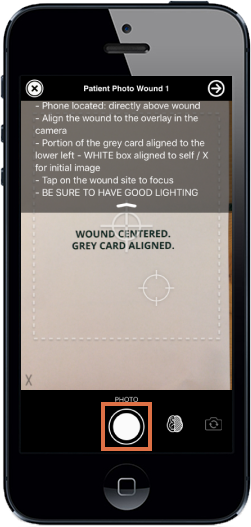
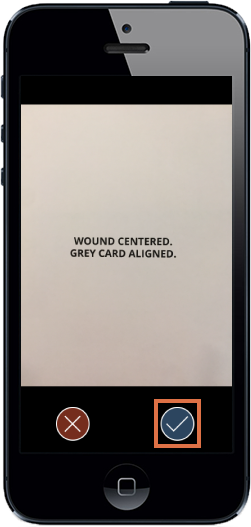
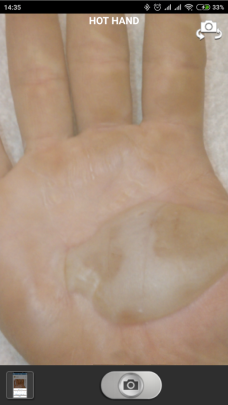
5. Take a photo or video, following the onscreen instructions. Try to match the new photo to the overlay of the old one.
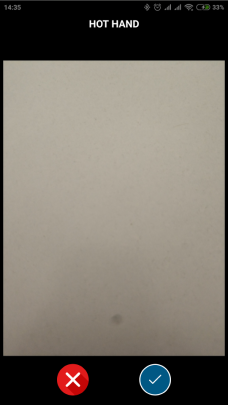
6. To accept the capture taken, tap on the blue button. To retake capture, tap on the red button.
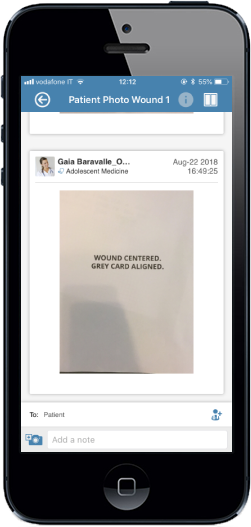
7. The new photo or video will be uploaded to the media sequence.
1. Open the CaptureProof app and sign in.

2. Your Patient List will be opened. Tap on a patient to select them.
3. Tap on the Media Rx you want to update.
4. Tap on the "add" button in the bottom left.
5. Take a photo or video, as instructed by the Media Rx. Try to match the new photo to the overlay of the old one.
6. If you are satisfied with the photo, tap on Accept. Otherwise, tap on Decline and take the photo again.
7. The new photo will be uploaded to the ®.