Add the Patient
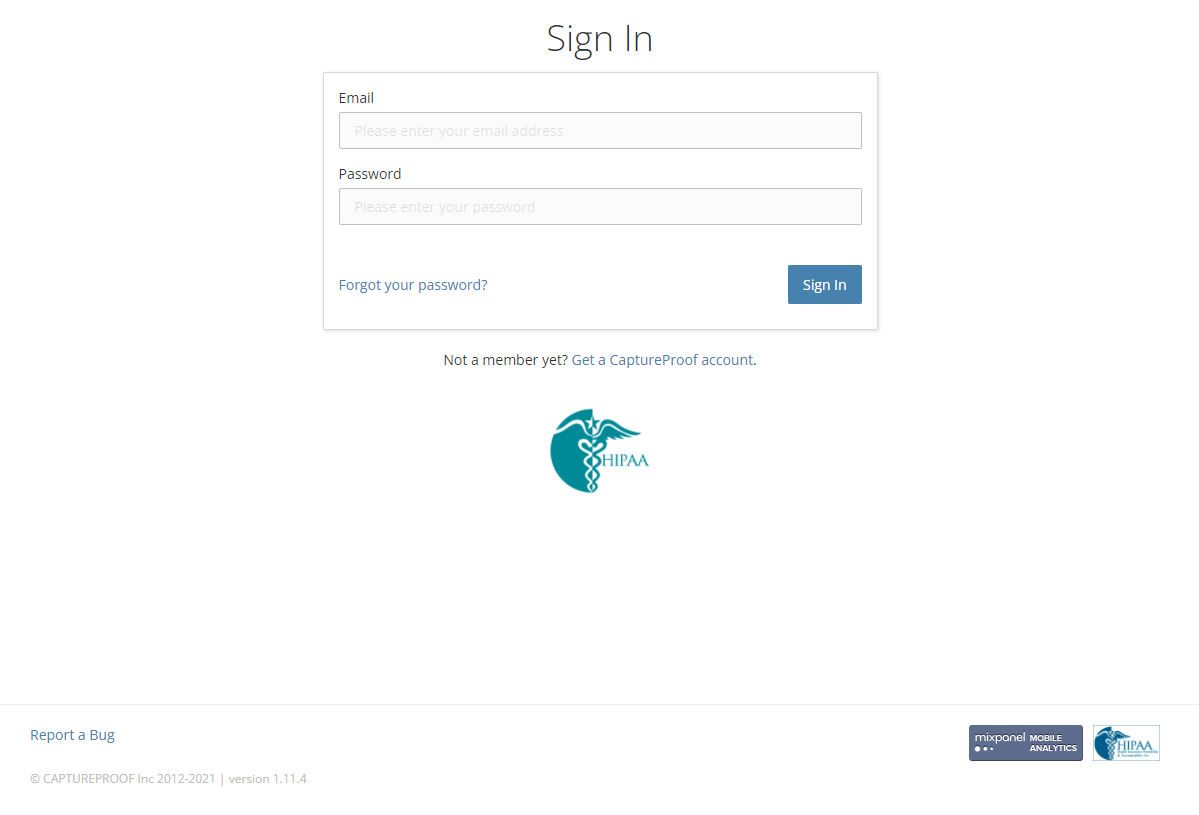
1. Enter your email and password, then click "Sign In".

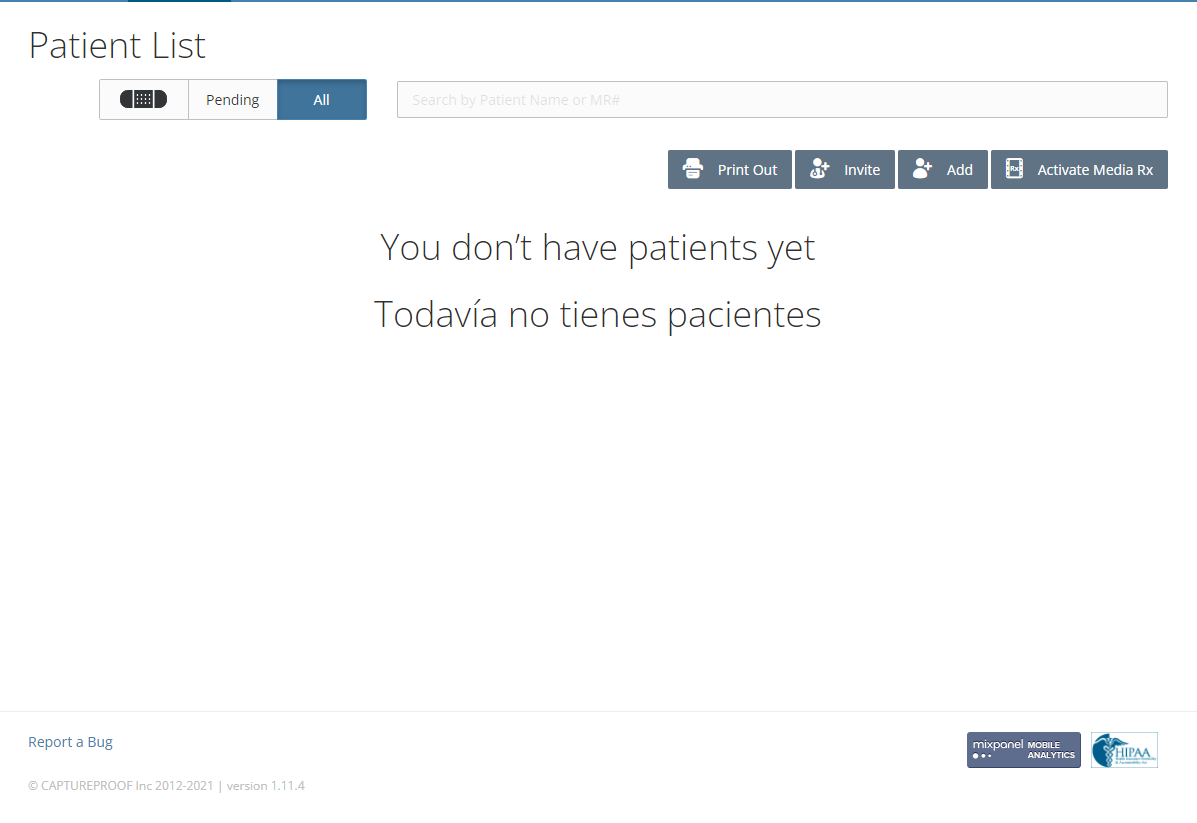
2. To add the patient, on the patient list, click on the "Add Patient" button.

3. Create patient by filling out patient's information, then click on the "Add" button.
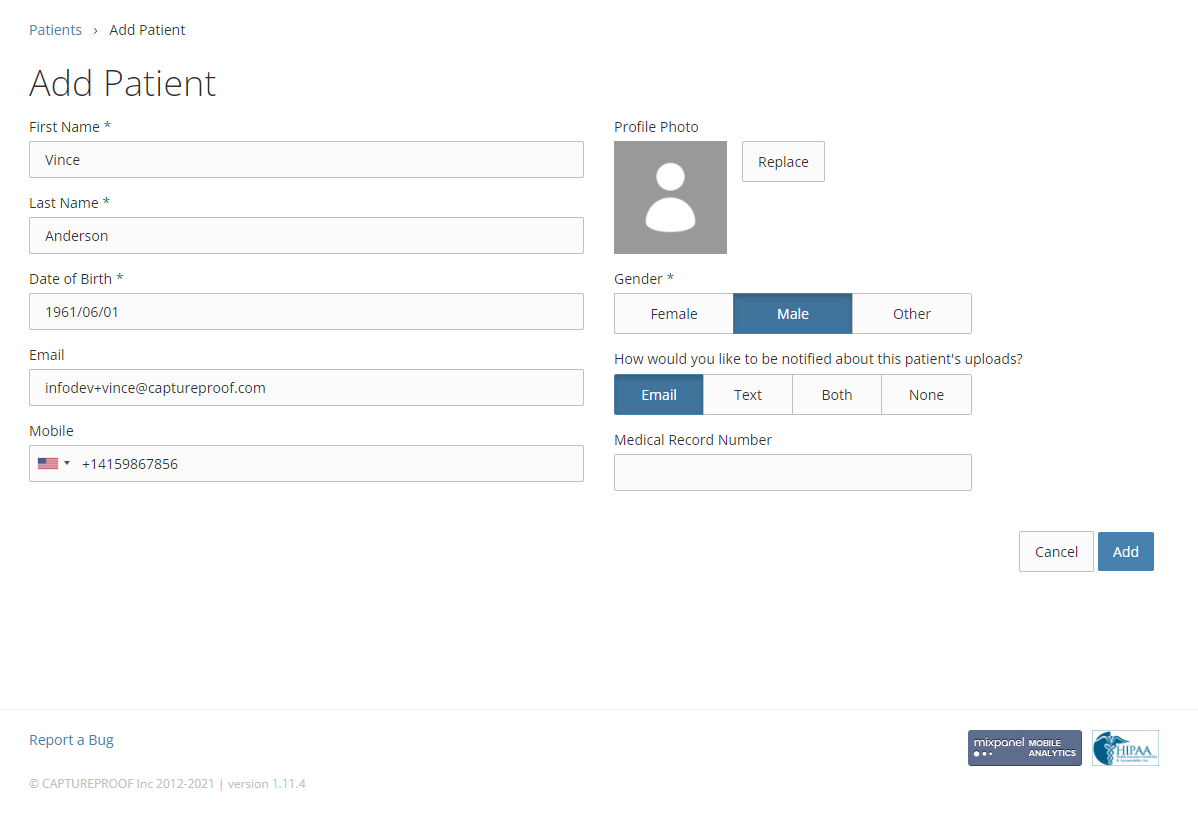
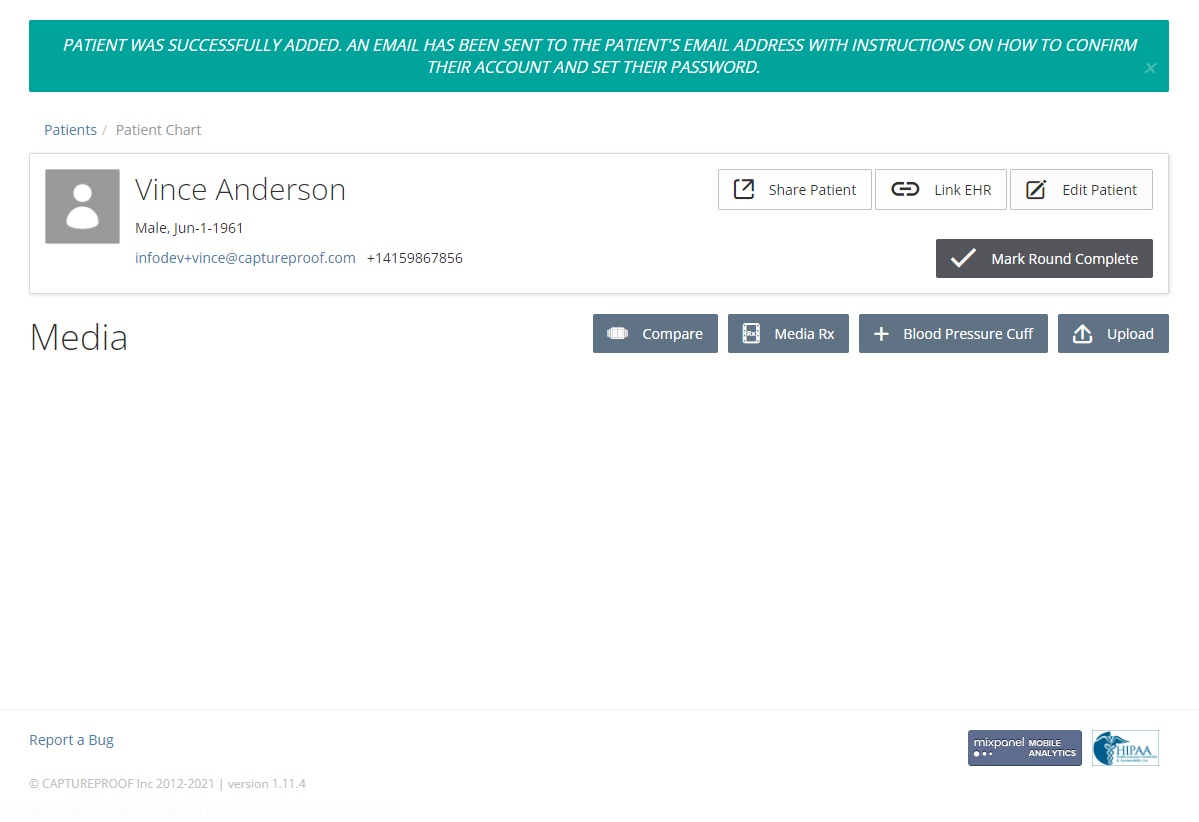
Patient's account created! This is your patient's profile page. As media prescriptions are assigned to created patient, they will appear in this page.
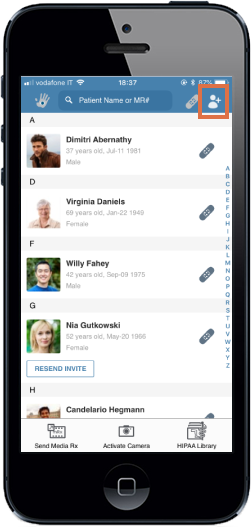
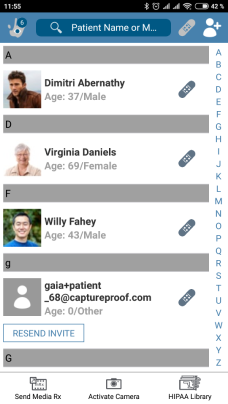
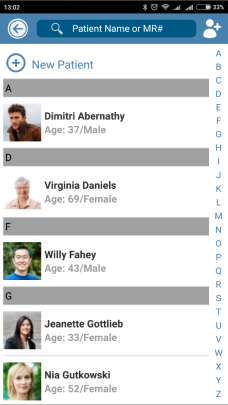
1. To add the patient, on the patient list, tap on the "Add Patient" button (top right corner).
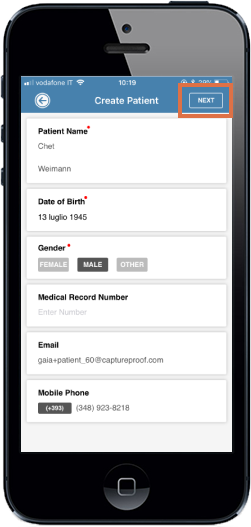
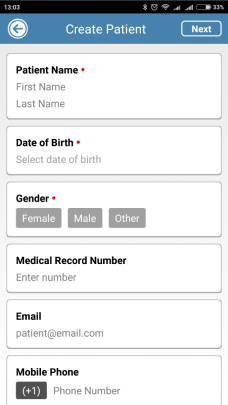
2. Create patient by filling out patient's information, then tap on the "Next" button (top right corner).
Patient's account created! This is your patient’s profile page. As media prescriptions are assigned to created patient, they will appear in this page.

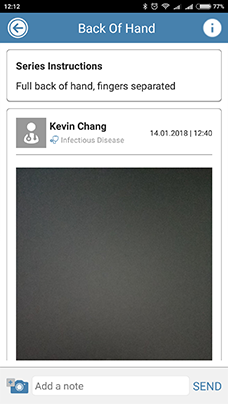
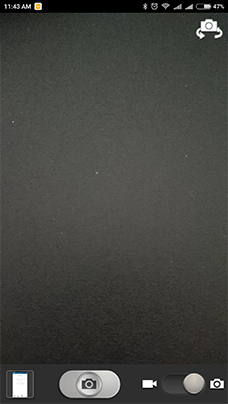
1. Tap on Activate Camera at the bottom of the screen.

2. The camera will be opened to take a photo; move the video/photo switch to Video if you want to take a video instead. Tap on the shutter button to take a photo or start recording a video, and tap on it again to stop recording a video.
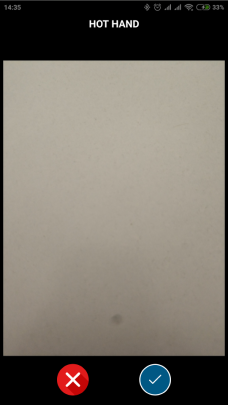
3. Tap on Accept to continue, or Decline to go back and take the photo or video again.
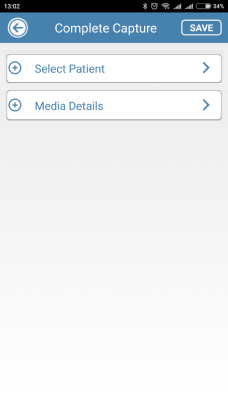
4. Tap on Select Patient.
5. Tap on New Patient.
6. Fill in the patient's details and tap on Next. If you want to invite this patient to upload their own photos to their profile, make sure to include their email address.
7. Tap on Media Details.
8. If you want to use a Media Rx you have previously created, select it here.
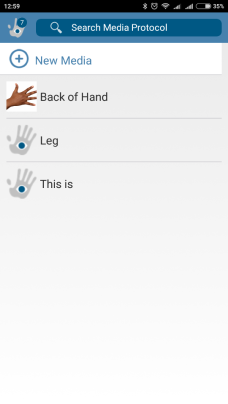
9. If you want to create a new Media Rx for the photo or video, tap on New Media, fill in the details following the instructions for creating a new Media Rx, and tap on Save.
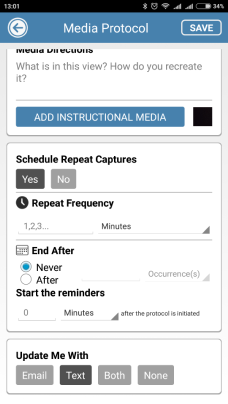
10. When you're done, tap on "Save".
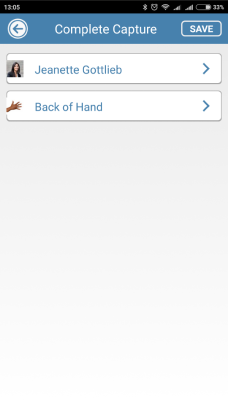
11. The new patient profile will be created, and the new photo or video will be uploaded to their profile.