Tips and Tricks
Pick the best place in your house
We are looking for two features to a "best place"
1. Clean background - this means a wall that has little to no furniture or low hanging art on the wall. We will want to use the wall as a background for a walking test - so somewhere you have 8 feet in front of the wall that can be walked along. And a place where you can place the tape for the long T (6-8 feet) for the balance tests.
2. Optimal lighting - This is very important. Make sure there is enough light to see the entire subject (head to toe) and that there are not a lot of shadows from the lighting source.
3. When taking standing photos of feet, do this on a hard surface, no carpeting. We are looking at the arch of the foot and need to be able to see this clearly.
Where should the light be?
The best lighting will come from behind and or above the camera. The WORST lighting will come from behind the subject you are filming (directly toward the camera) This is also called backlighting - please avoid backlighting at all costs. (ie. It is not good to film with a bright window as the background).
How to set focus on the camera
On all mobile devices you set the focus on the camera when you tap the screen. So if you don't see the foot or body in focus - just give the screen a tap and that should fix it. If you want to have more light in a photo - you can tap the focus on the darkest part of the screen and the image should brighten up. Conversely, if you want less light - you can tap the focus on the brightest part of the screen and the image should have less light.
Sticker Placement
You will use stickers to attain automatic measurements. It is important that you put these on properly.
SMALL ROUND STICKERS
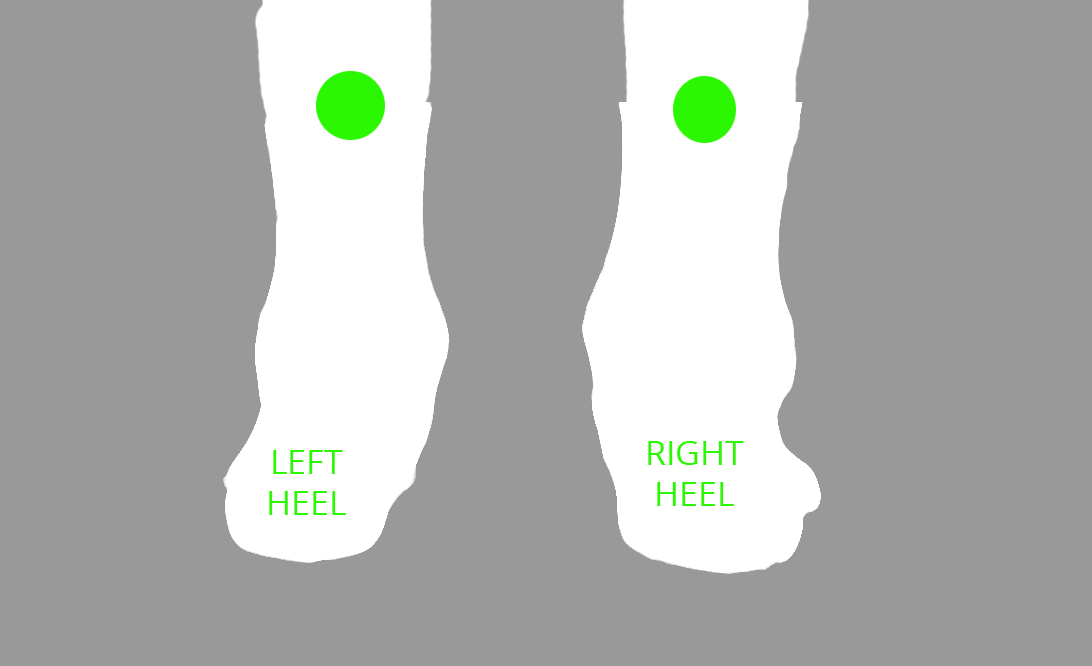
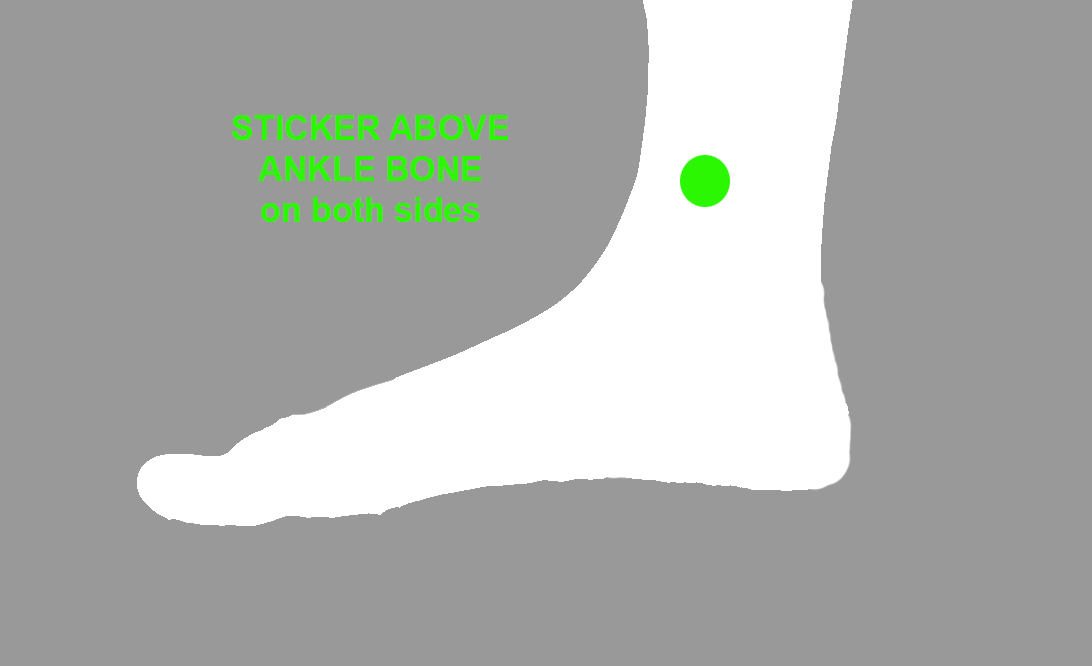
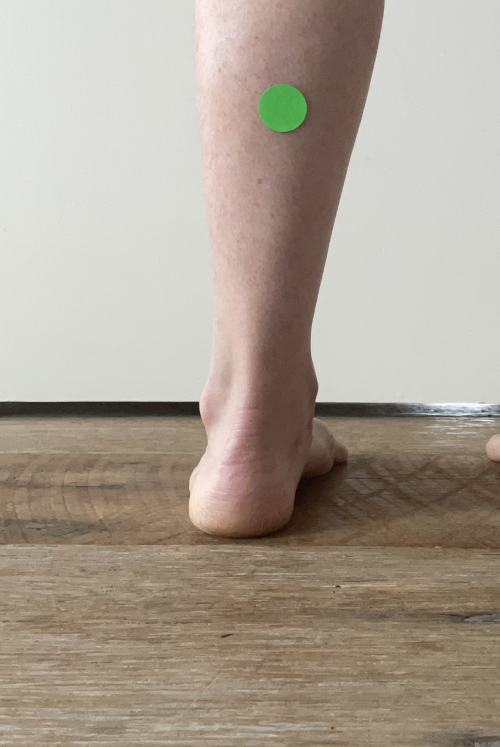
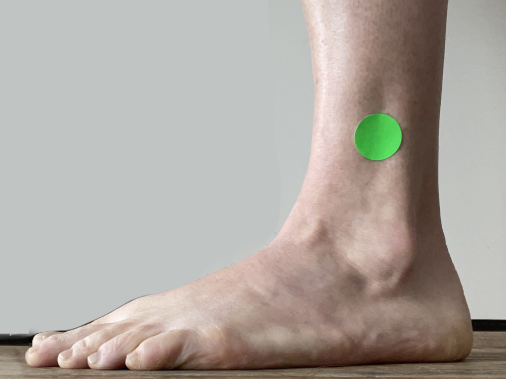
The small green stickers are for the foot calculator photos. You will put 6 stickers on total, 3 on each leg. One on either side of the leg and one on the back of the leg. Be sure to have all the stickers above the ankle.
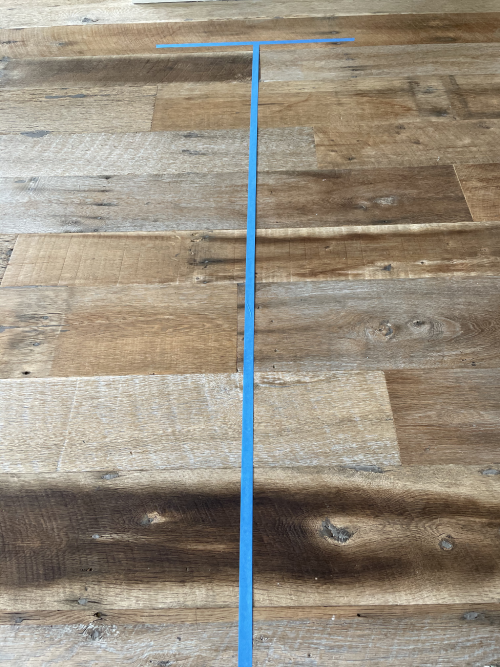
Long tailed T
Set up the Line for the Balance and Walking Portion. We will be using the wall. So near a clear wall is the best.
You will be making a very "long tailed" T
- Starting with the top of the T, you will put 2 feet of tape on the ground about a foot from the wall, parallel to the wall.
- Then you will put about 8 feet of tape out from the center of the first line.

Camera Handling
Use a tripod. We will try to get some information out of these videos. It is important to hold the camera as still as possible. If you do not have a tripod, this is done by holding the camera with both hands, elbows tight on body and feet very stable. For standing photos the camera is to rest its side on the floor. This requires a flat floor, no carpet.