Hip
tap on the name of the exercise to see the details
Hip week 4
Hip week 6
Single knee to chest (Lying on Back)
Included in week 2, 4, 6 and 8
HOW TO VIDEO
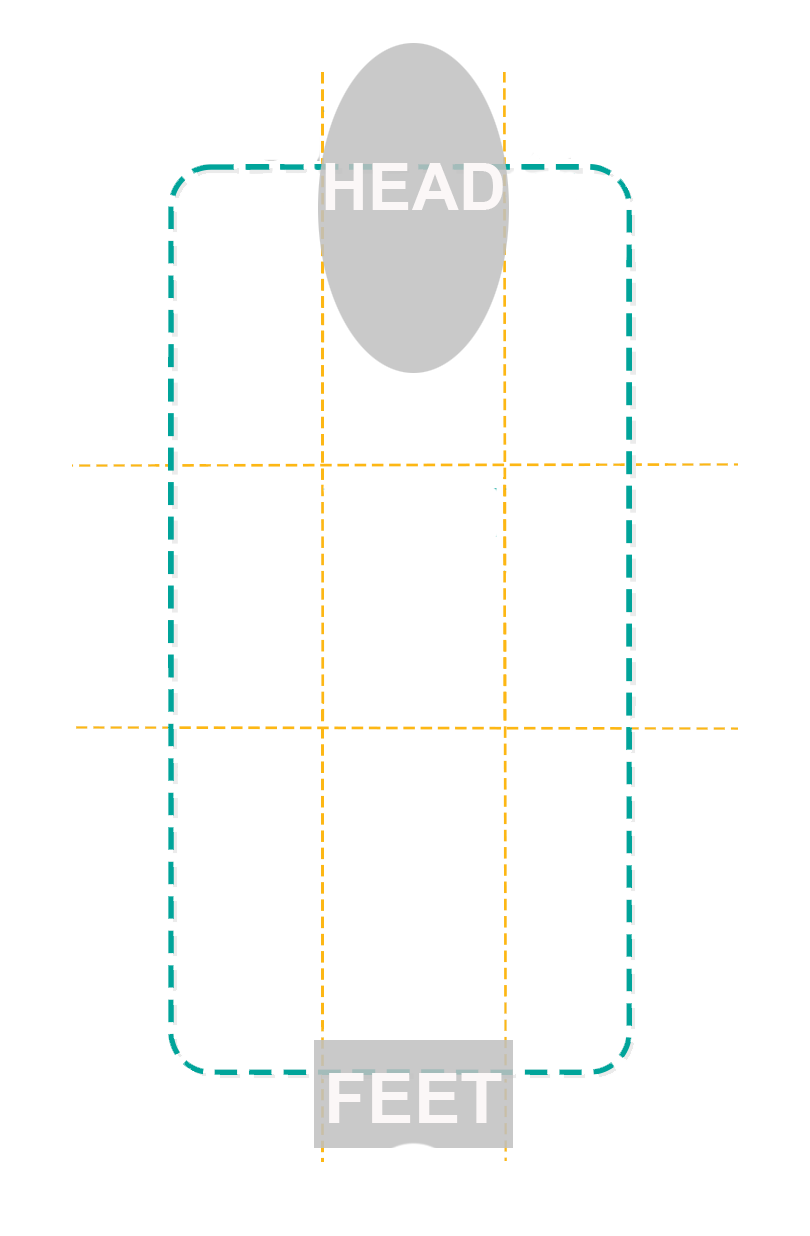
Camera is WIDE - show the patient's whole body from the side with the surgical leg closest to the camera: head to toe.
1. Patient is lying on back.
2. Bring your non-surgical knee up to your chest.
3. Allow the surgical leg to lay flat.
4. Hold for 5 seconds.
Thomas test (Lying on Bed)
Included in week 4, 6 and 8
HOW TO VIDEO
Camera is WIDE - show the patient's whole body from the side with the surgical leg closest to the camera: head to toe.
1. Patient lying on their back on the floor or edge of a couch/bed.
2. Bring both knees to chest.
3. Hold the non-surgical leg at chest and allow the surgical leg to drop down straight on the floor/bed.
Prone Ely's test (Lying on Front)
Included in week 2, 4, 6 and 8
HOW TO VIDEO
Camera is WIDE - show the patient's whole body from the side with the surgical leg closest to the camera: head to toe.
1. Patient is lying on stomach.
2. Lift each foot and bring it as close to your buttocks as possible.
3. Repeat with the other side.
4. If assistance is needed please use a scarf or a belt around the ankle to pull the foot towards the buttocks.
Prone hip IR and ER (Lying on Front)
Included in week 2, 4, 6 and 8
HOW TO VIDEO
INSTRUCTIONS
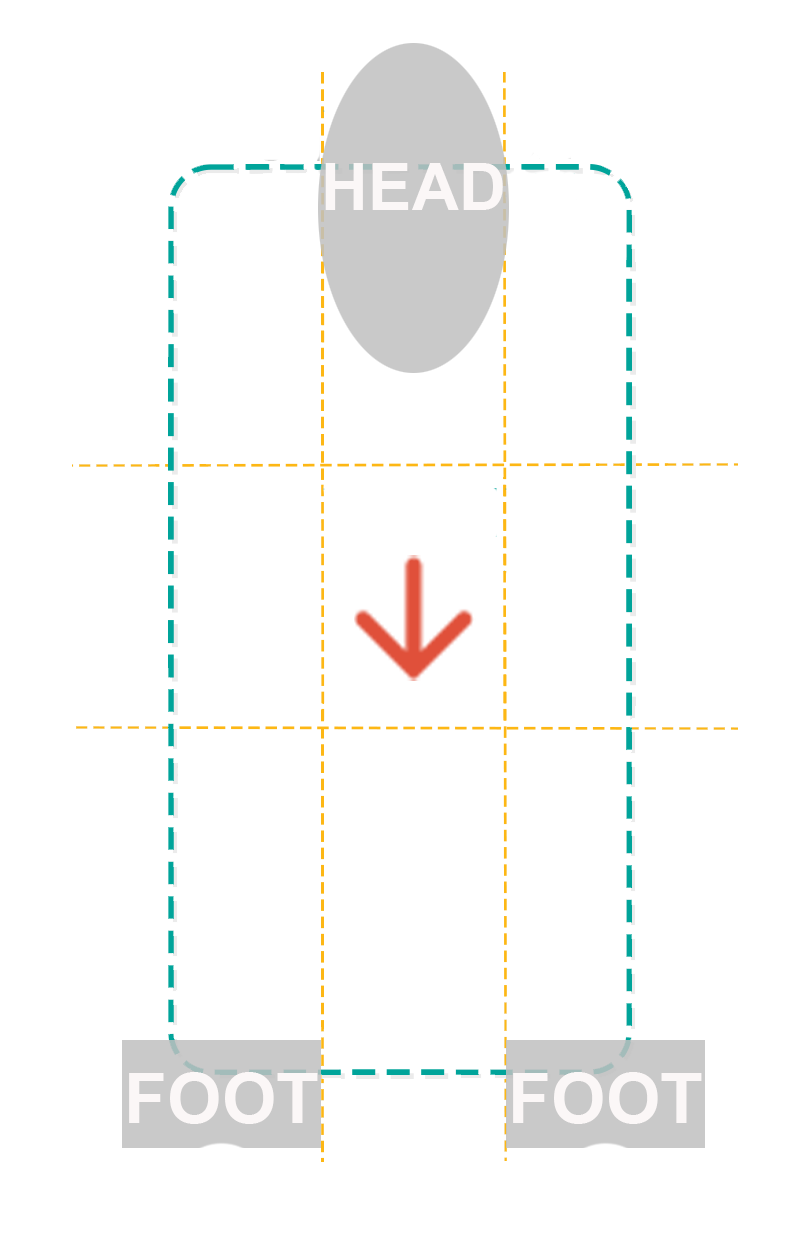
Camera is TALL - show the patient’s whole body from above the patient's shoulders.
1. Patient is lying on the stomach.
2. Bend one knee until the foot points up towards the ceiling.
3. Allow the heel to fall out to the side while keeping your hips flat on the ground.
4. Then bring back up to neutral position and then allow the leg to drop in the opposite direction. (kind of like a windshield wiper)
5. Repeat on the other leg.
Rock backs (Hands and Knees)
Included in week 2, 4, 6 and 8
HOW TO VIDEO
Camera fits the body starting above shoulder view and then to a side view.
Do this two times, once in each view: including the entire patient in frame. (1) above shoulder view for 10 seconds and (2) side view for 10 seconds.
1. Patient starts in a kneeling position with knees shoulder width apart.
2. Put both hands flat on the floor. In a crawl position.
3. Gently take the hips and move them back toward the heels, similar to child’s pose or a prayer stretch.
4. Hold in the furthest back position (avoid sharp anterior hip pain) for 10 seconds.
5. Move (patient or camera) to show the side view and repeat movement.
Seated 90/90 (Seated)
Included in week 4, 6 and 8
HOW TO VIDEO
INSTRUCTIONS
Camera is TALL - show the patient’s whole body seated in a chair: head to toe.
1. Sit in a chair.
2. Put your ankle on the opposite knee and sit up as tall as possible, avoiding anterior hip pain.
3. Hold for 10-15 seconds.
4. Change sides and repeat movement.
Gait assessment (Standing)
Included in week 2, 4, 6 and 8
Camera is Tall - show the entire patient in frame: head to toe. If you have a tripod, use it please. If you have REFLECTORS, use them please.
Reflectors go on the front/tip of the shoe, do not bend. (imagine if you were gonna kick a door). Make sure you are not back lit when walking toward the camera.
1. Please start with the whole body in frame and the back to the camera.
2. Walking normally, take 6 steps away, turn around and then walk back toward the camera.
3. Stop the patient when BOTH feet / reflectors are still in view this will allow the computer analysis to happen.
Marching (Standing)
Included in week 4, 6 and 8
CAMERA VIEW

HOW TO VIDEO
INSTRUCTIONS
Camera is Tall - show the entire patient in frame: head to toe. If you have a tripod, use it please.
Do this two times, once in each view: including the entire patient in frame. (1) in front of the patient for 5-10 seconds and (2) side view for 5-10 seconds.
1. Patient is standing with arms across chest.
2. While standing in place raise the knees as high as possible, as if you were marching.
3. Do this movement for 5 - 10 seconds.
4. Move to show profile and repeat movement.
Single leg stand (Standing)
Included in week 4, 6 and 8
CAMERA VIEW

HOW TO VIDEO
INSTRUCTIONS
Camera is Tall - show the entire patient in frame: head to toe. If you have a tripod, use it please.
1. Patient is standing with arms across chest.
2. Facing the camera stand on your surgical leg.
3. Bring your non-surgical knee in front of your body as high as you can. (As if you were marching.)
4. Hold this position for up to 15 seconds or as pain allows.
Star balance (Standing)
Included in week 8
CAMERA VIEW

HOW TO VIDEO
INSTRUCTIONS
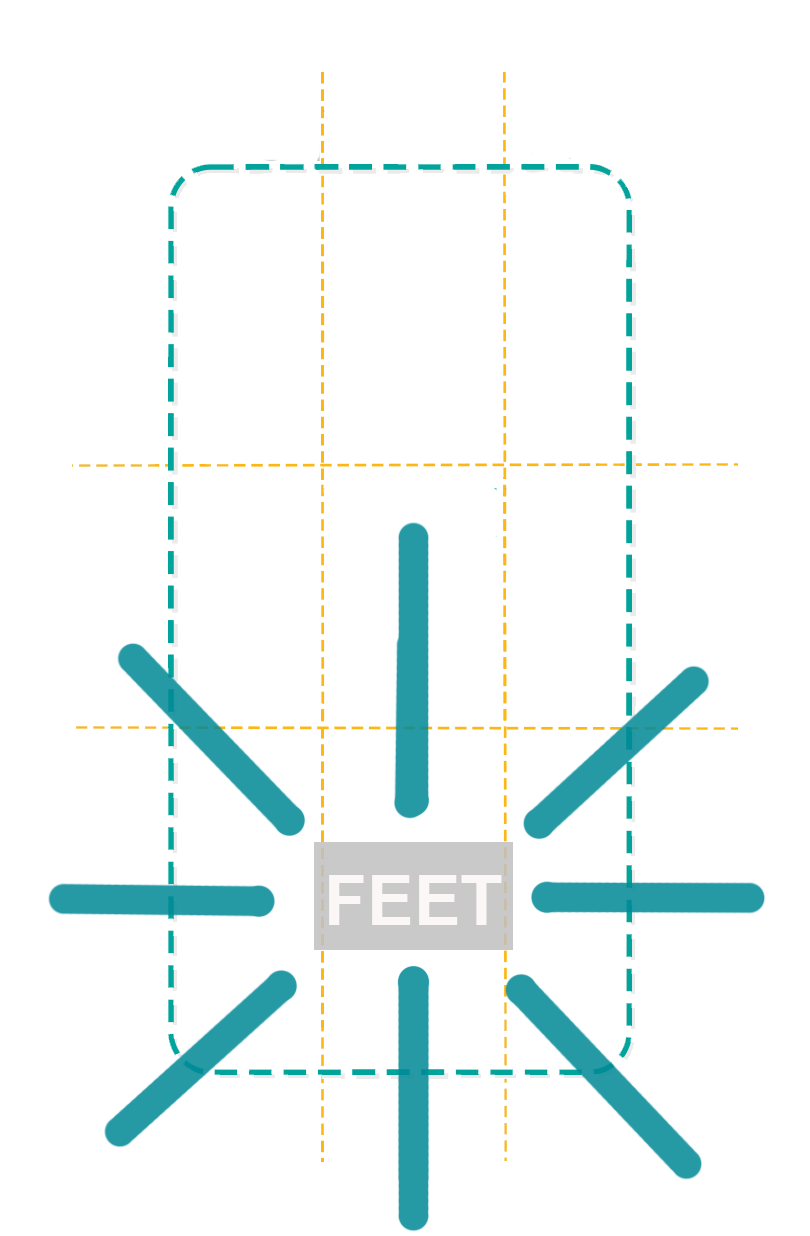
Camera is Tall - show the standing patient in frame: head to toe. If you have a tripod, use it please. You can use painters tape to put an 8 point star on the ground to match the overlay.
1. Standing on the surgical leg.
2. Move the non-surgical leg TAPPING at 45º increments from front to back.
If the Right leg is the non-surgical leg, tap the right toes on 1,2,3,4,5.
If the Left leg is the non-surgical leg, tap the left toes on 1,8,7,6,5.
Deep squat (Standing)
Included in week 8
CAMERA VIEW

HOW TO VIDEO
INSTRUCTIONS
Camera is Tall - show the standing patient in frame: head to toe. If you have a tripod, use it please.
Do this two times from the front and then from the side of the patient.
1. Patient is standing with arms across chest.
2. Stand with feet shoulder width apart.
3. Squat down as far as you can. Ideally the buttocks is near the heels / floor.
4. Stand back up.
5. Show the side view and repeat movement.
Lateral dip (Standing)
Included in week 8
CAMERA VIEW

HOW TO VIDEO
INSTRUCTIONS
Camera is TALL (can be in tripod) including the standing patient in frame: head to toe.
Do this two times 3 on the non surgical side. 3 on the surgical side. The first set of reps is from the front for both legs. The second set is on the side of the standing leg. (3 views total)
1. Patient is standing with arms across chest. (stand next to a wall or table if patient is unsteady on their feet). Be careful not to fall over.
2. Stand on one leg.
3. Patient can soften the knee slightly.
4. Lower and raise your body. 3 times.
5. Switch legs and raise the other leg. 3 times.
6. Turn to the side with the leg standing closest to camera and repeat on the sides (2 views).
